
This article will assist you with setting up Blue Mail with your POP3 account.
1. Your first port of call is to visit the App Store and download your copy of Blue Mail,
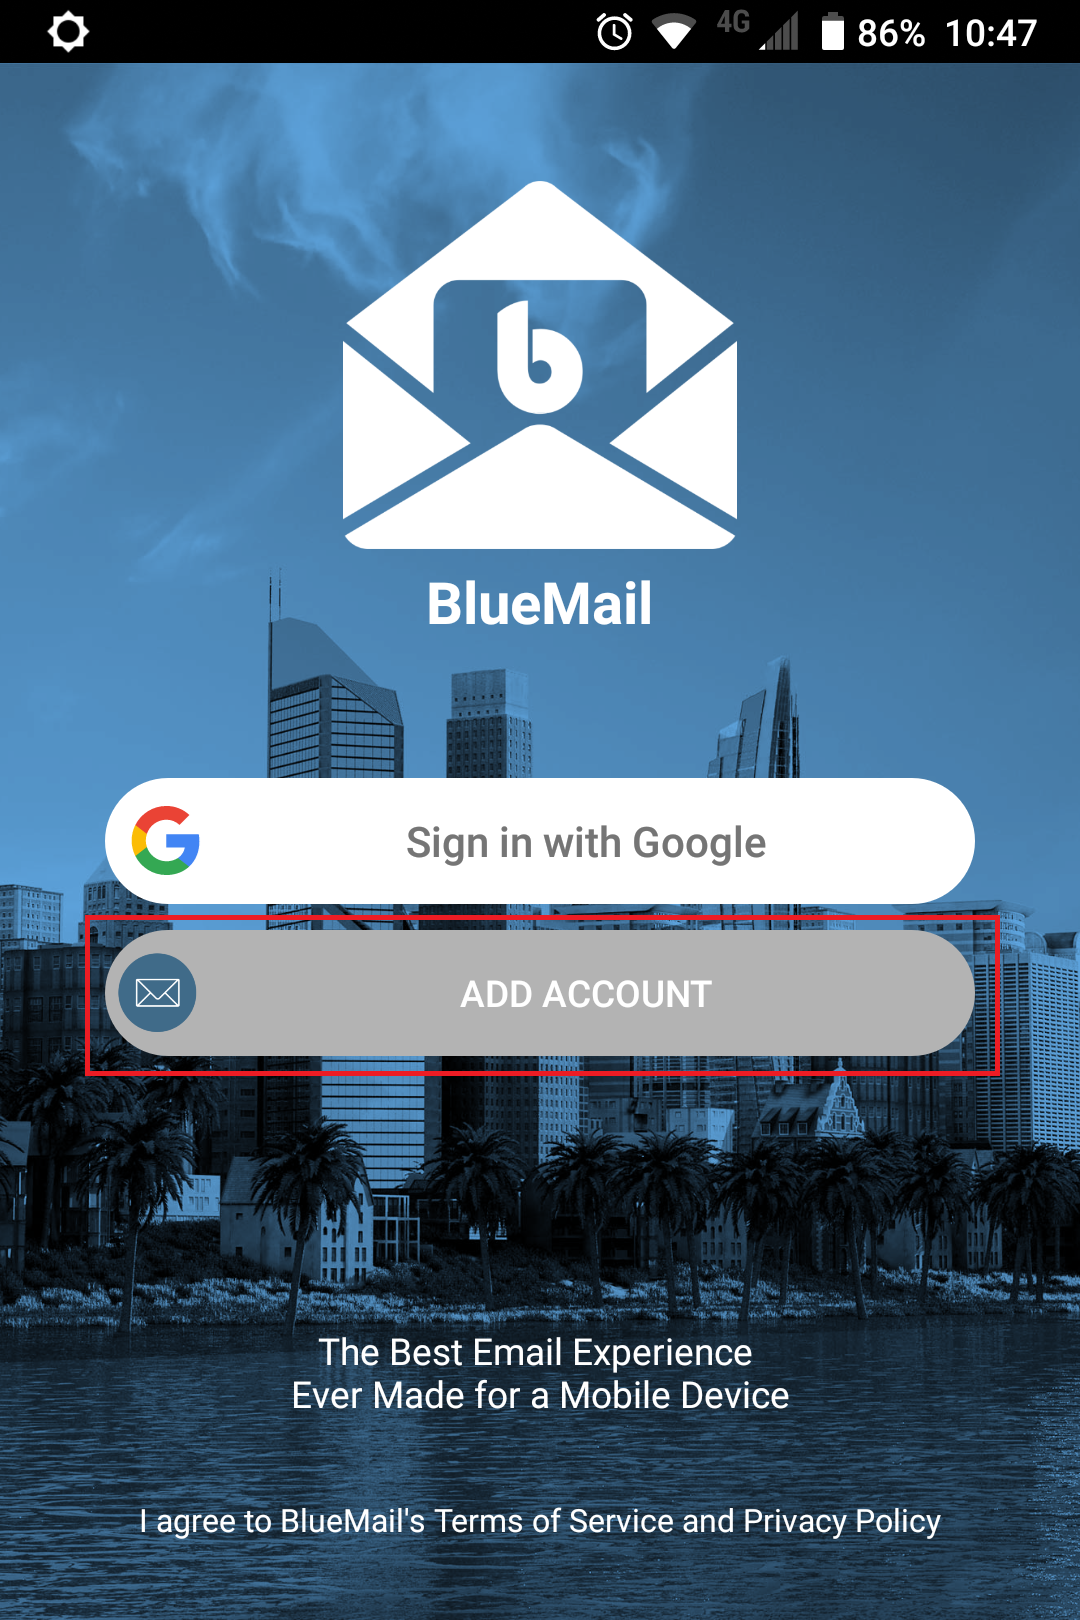
2. Once you have done this, open the app
3. and select Add Account
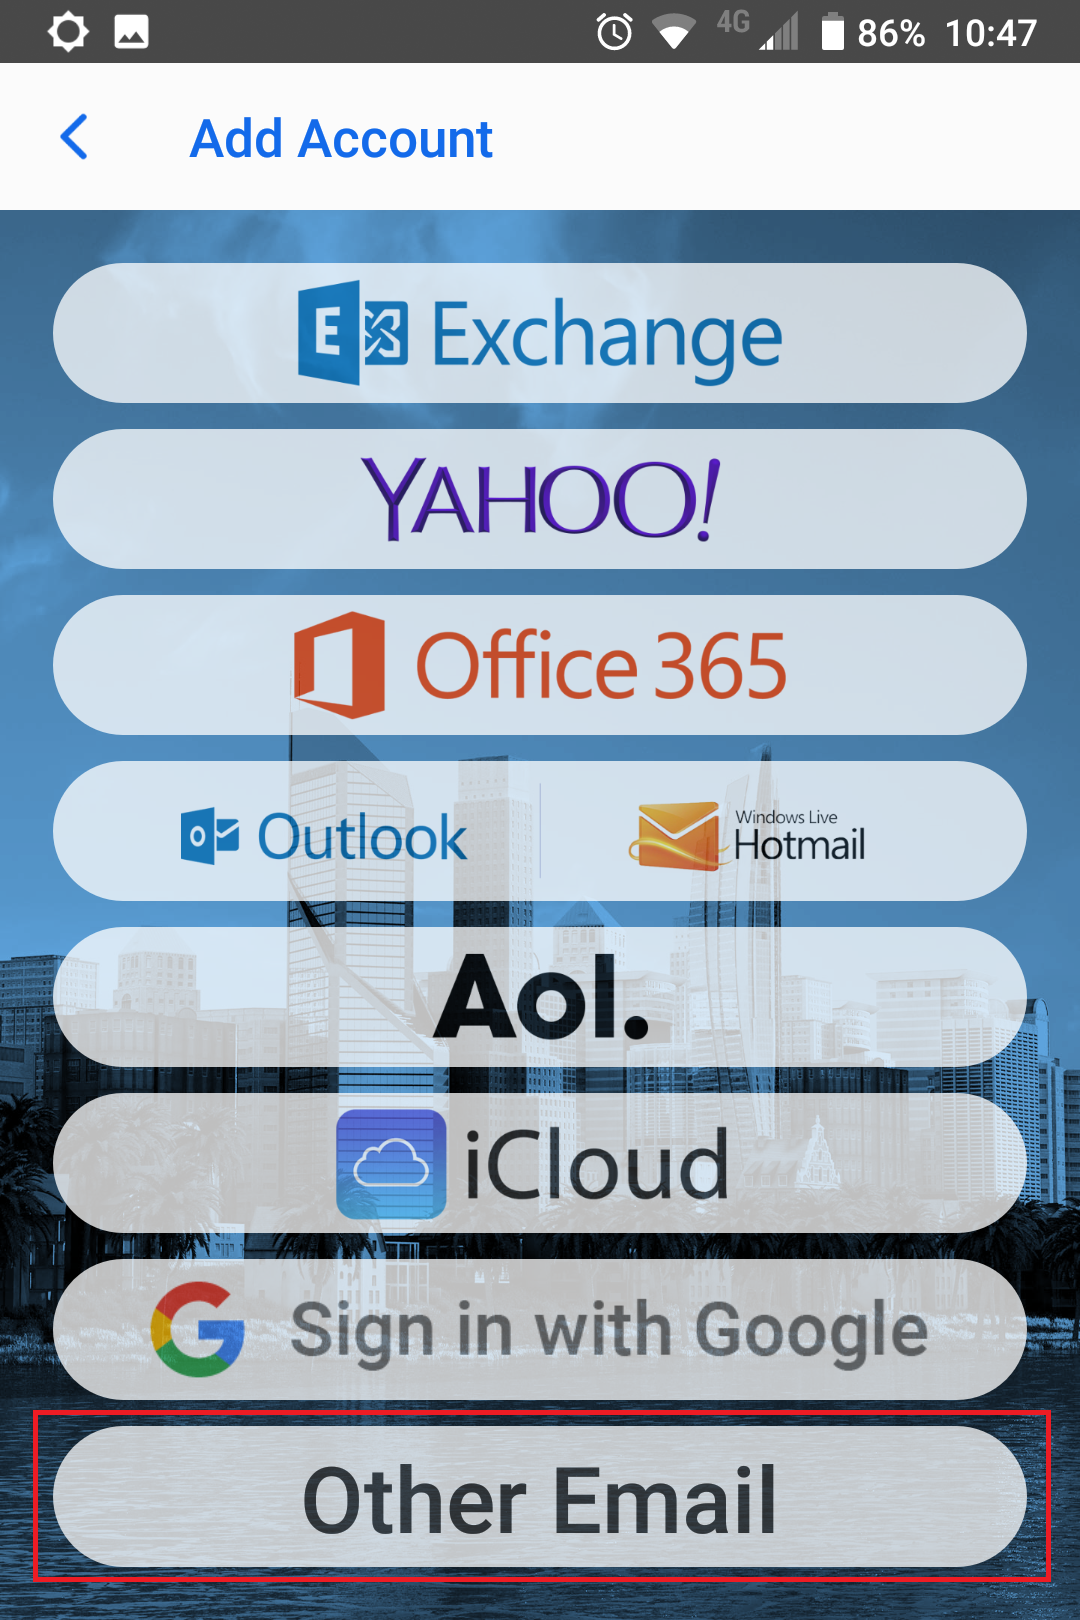
4. Select Other Email at the very bottom of the options
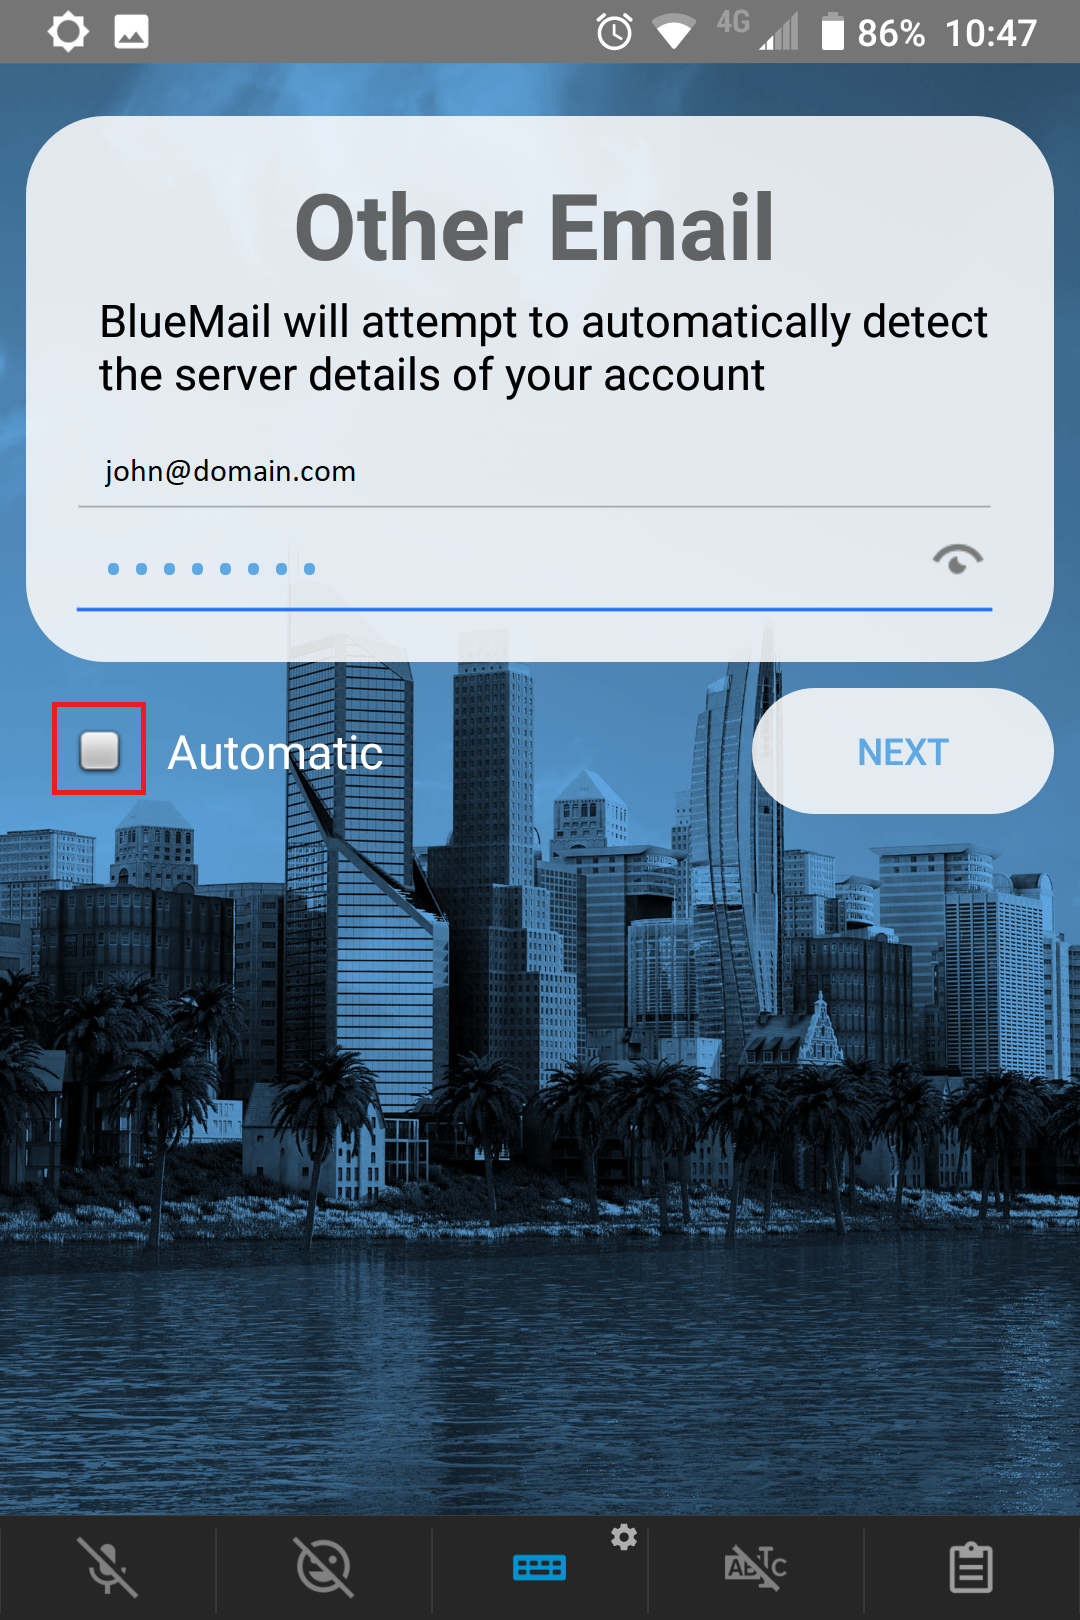
5. Please fill in your Username, e.g. john@domain.com
6. Please also fill in the password for your account
7. and remember to de-select Automatic
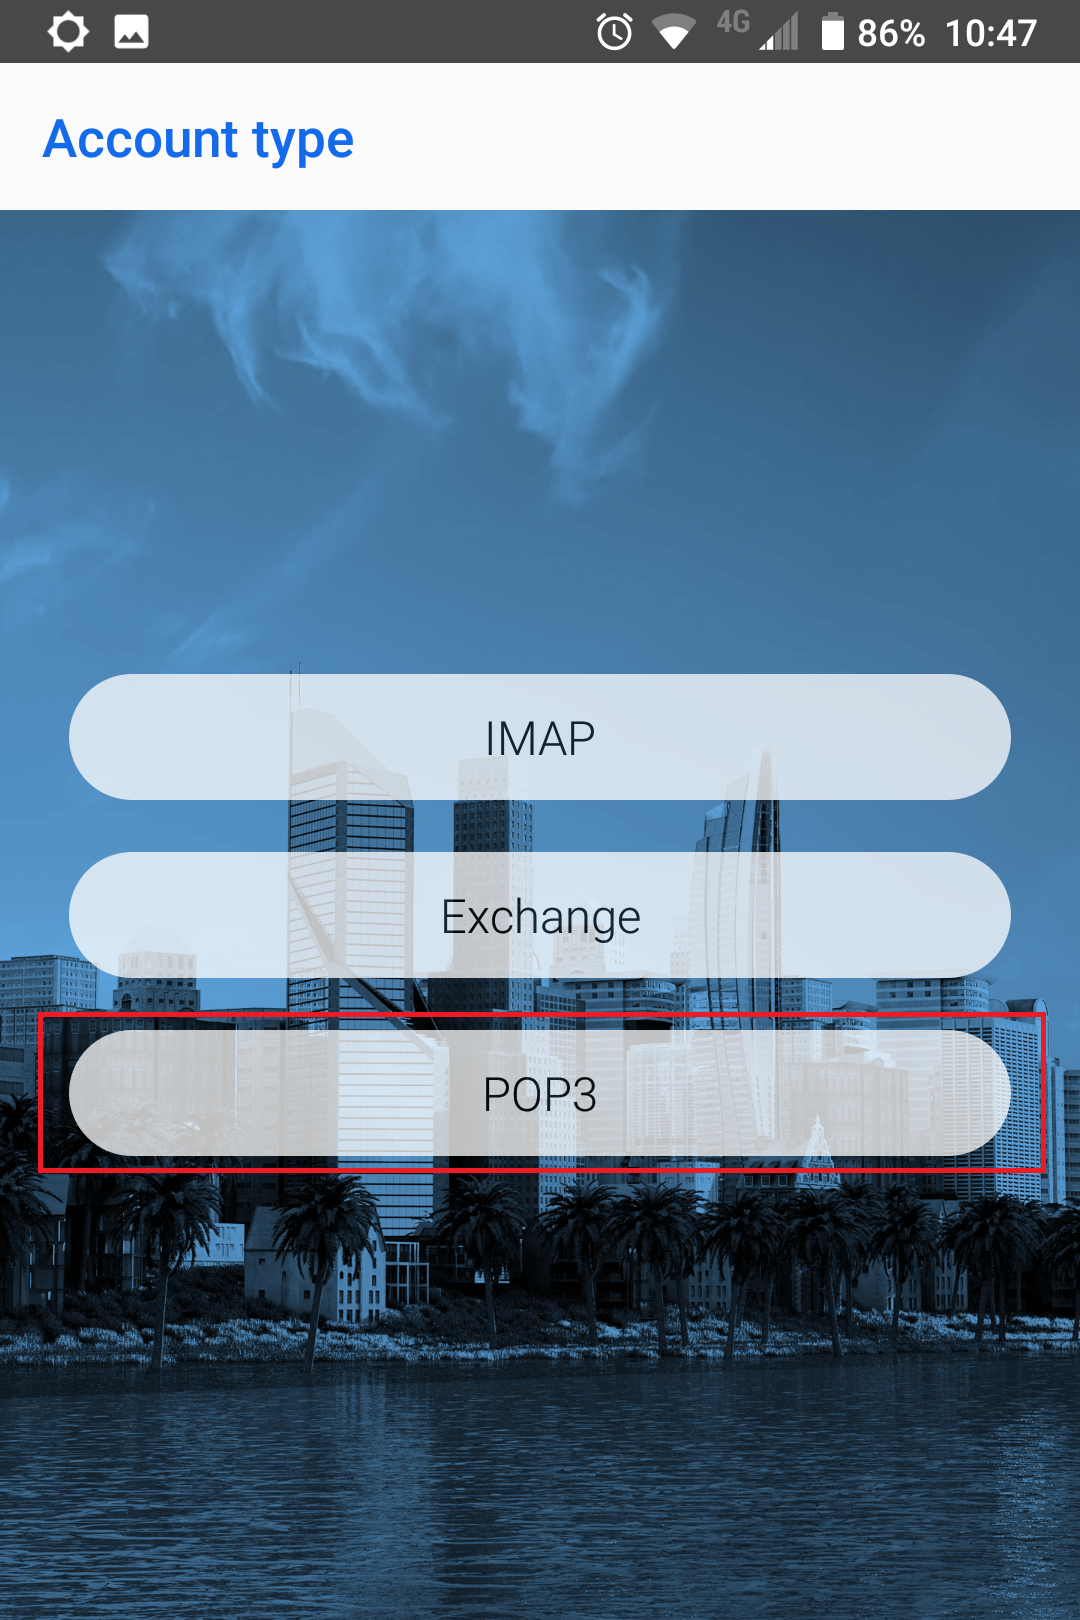
8. On the very next page, please ensure you have clicked POP3
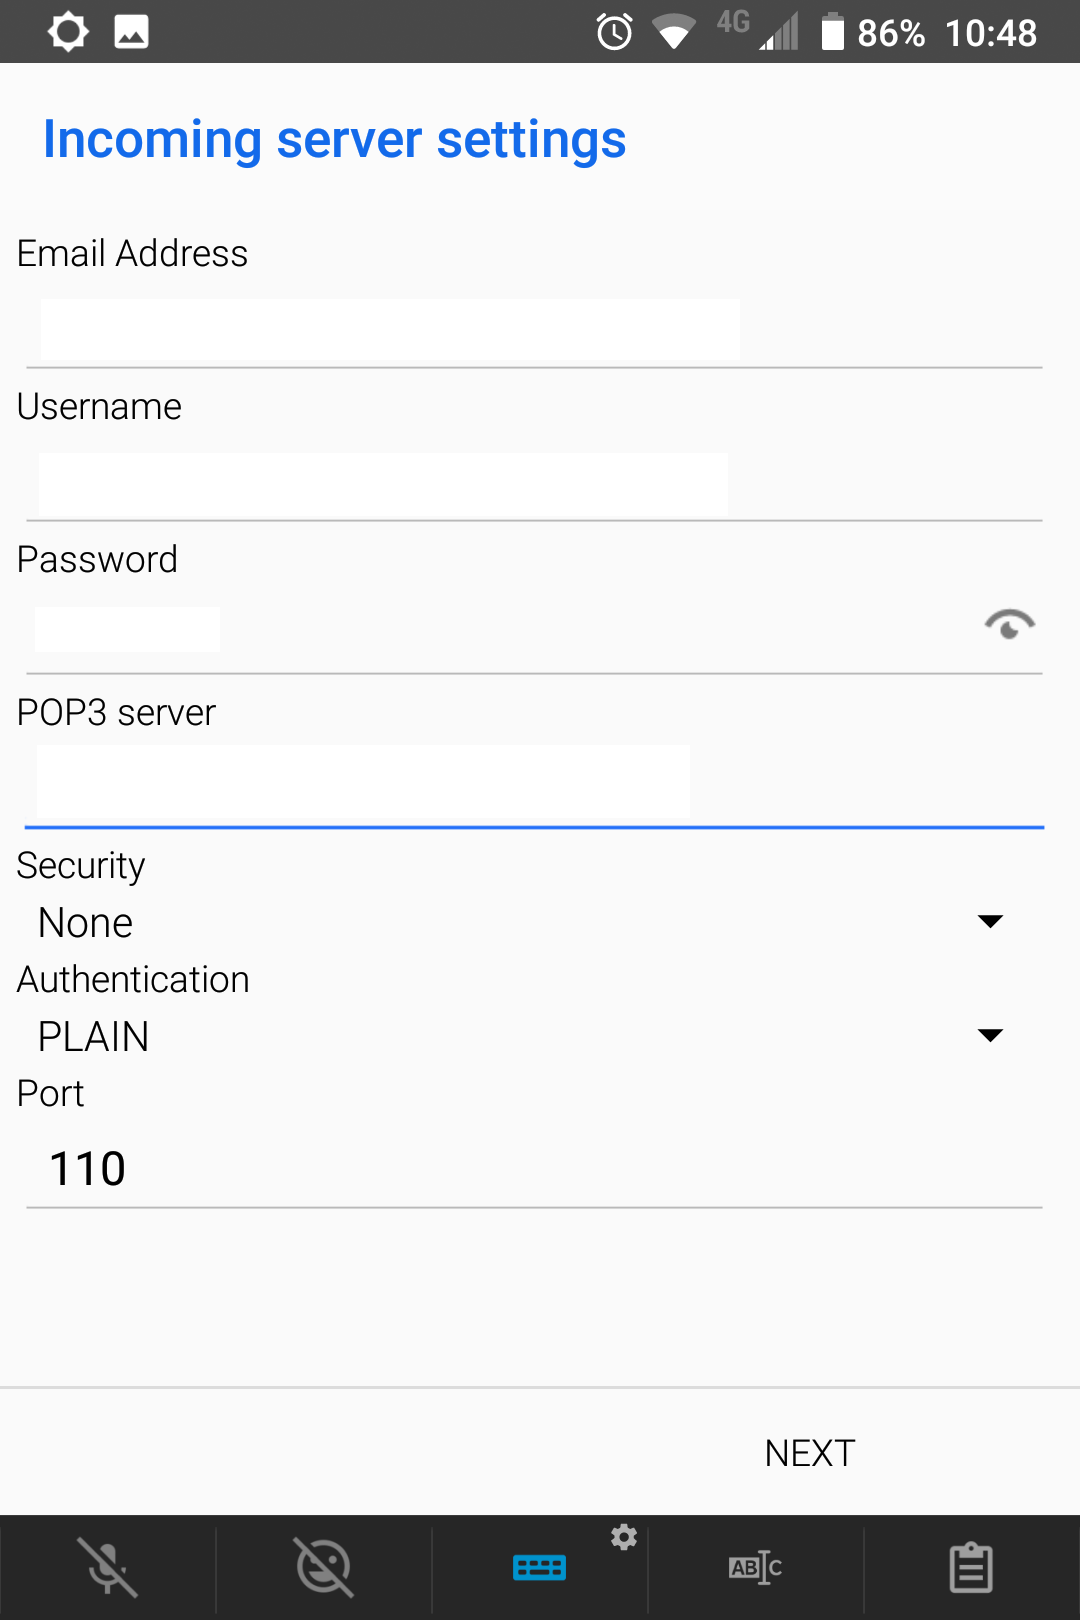
9. Now you will be presented with a page asking for specific details in relation to your hosting.
10. Please add your email address to the Email Address box
11. Please add your email address to the Username box
12. Please add your password to the Password box.
13. In the POP3 Server box, please put in your address
– If you are a Mistore customer, the server name will be mail.yourdomain.com
– Alternatively, the Outgoing server may be: smtp.yourdomain.com
14. Security = None
15. Authentication = Plain
16. Port = 110
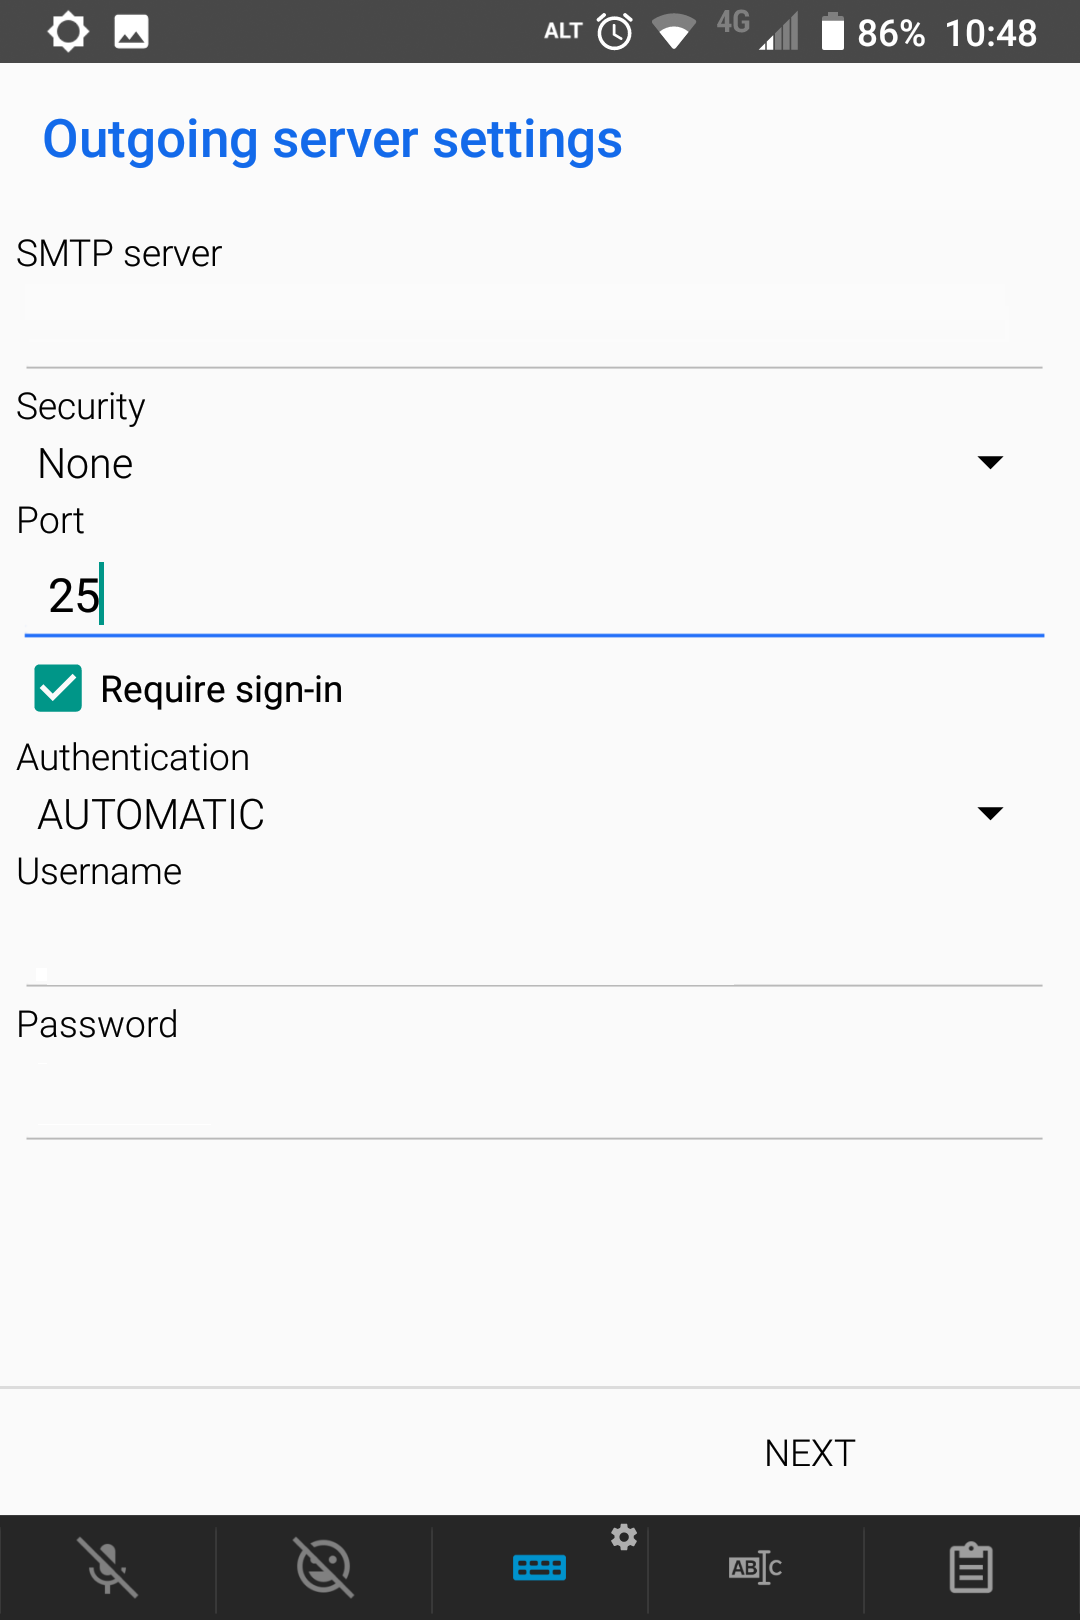
17. Please add in your outgoing server
– If you are a Mistore customer, the server name will be mail.yourdomain.com
– Alternatively, the Outgoing server may be: smtp.yourdomain.com
18. Security = None
19. Port = 25
20. Authentication = Automatic
21. Please input your email address into the Username box.
22. Please input your password into the Password box.
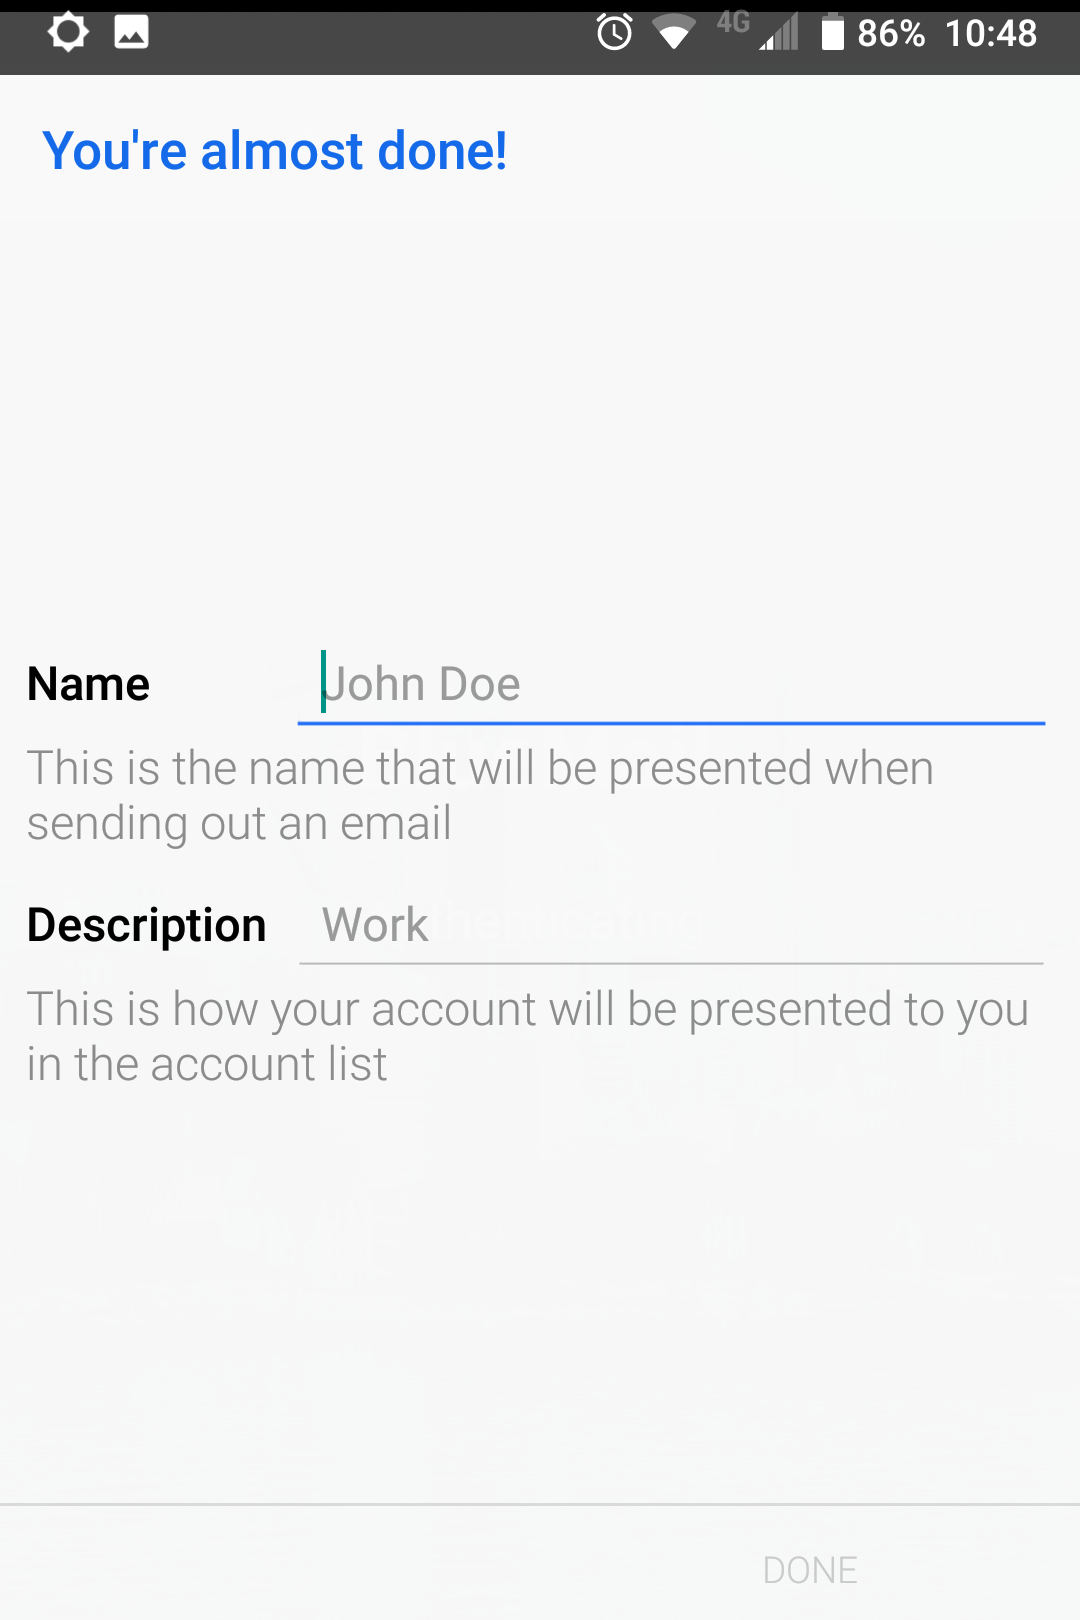
23. Set a name for your accounts
24. & a description, if you have a few accounts on a single device, this may prove helpful.
Congratulations! you have successfully installed your inbox to the Blue Mail app available on both IOS and Android devices!


